Struggling with that fuzzy brown shell while craving the emerald treasure inside? Mastering proper kiwi preparation reveals sweet-tart perfection packed…
How to Cut a Pineapple: The Ultimate Step-by-Step Guide for Beginners
That intimidating spiky exterior and tough-looking skin aren’t reasons to avoid fresh pineapple—they’re simply obstacles easily overcome with proper technique.…
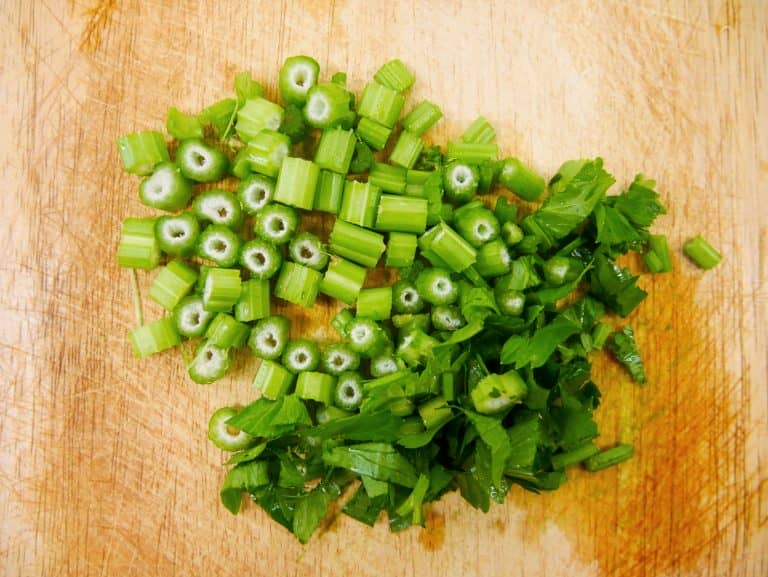
How to Cut Celery the Right Way: A Beginner’s Kitchen Guide
That fibrous crunch and awkward texture aren’t inevitable—they’re completely preventable with proper technique. Learning how to cut celery reveals professional…
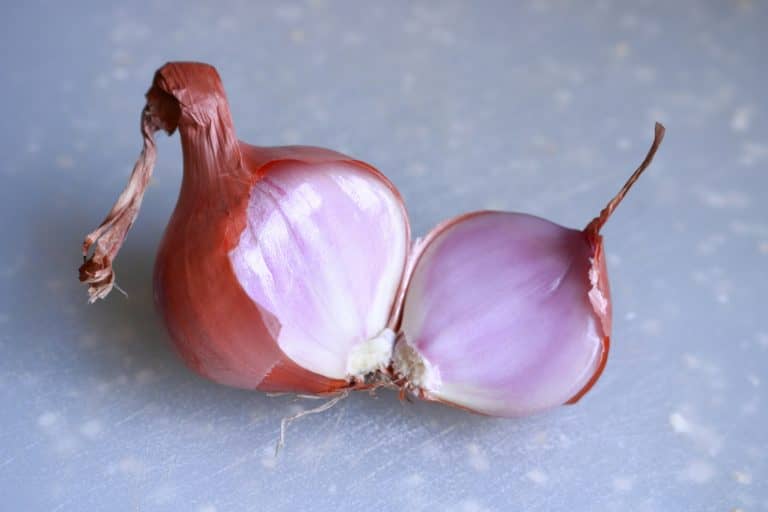
How to Cut Onions for Kabobs That Stay on the Skewer
Preparing perfect kabobs starts with properly cutting onions – yet this seemingly simple task leaves many home cooks frustrated. Onions…
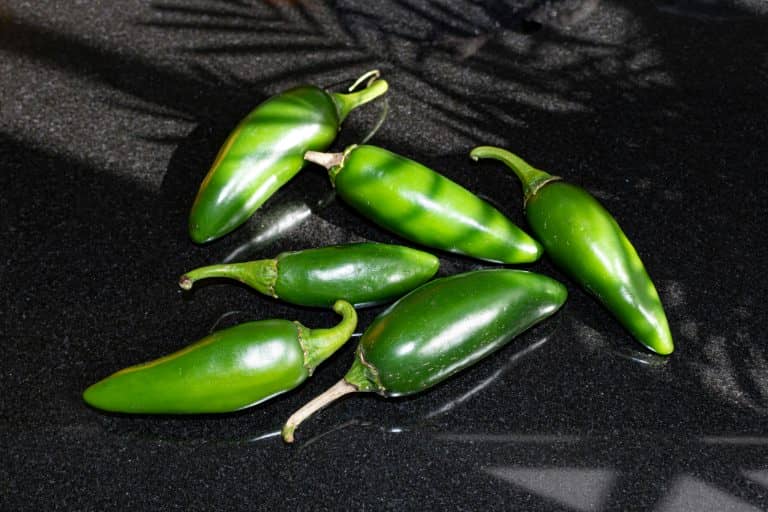
How to Cut Jalapeño Like a Pro (Without Burning Your Hands)
Struggling with jalapeños? Those fiery peppers can leave your fingers burning for hours, or worse, create the dreaded eye-touch disaster.…
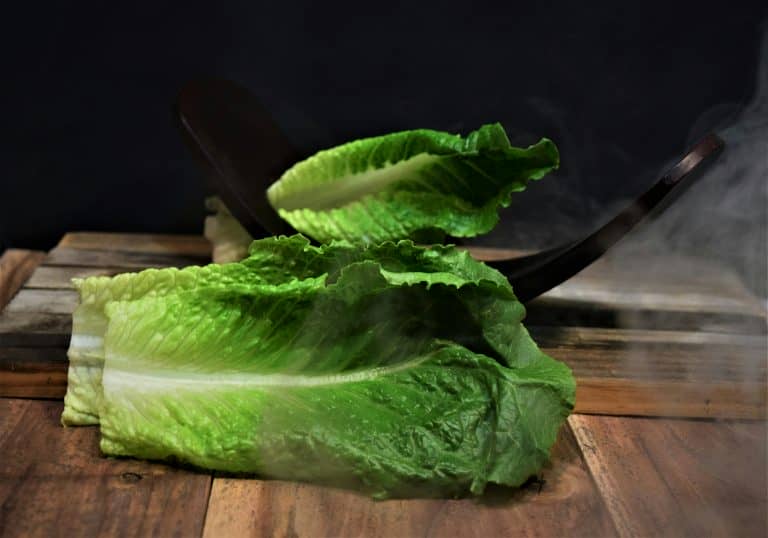
How to Cut Romaine Lettuce: Easy Techniques for Perfect Salads
Ever grabbed a head of romaine only to end up with a soggy, brown mess by dinnertime? That limp lettuce…
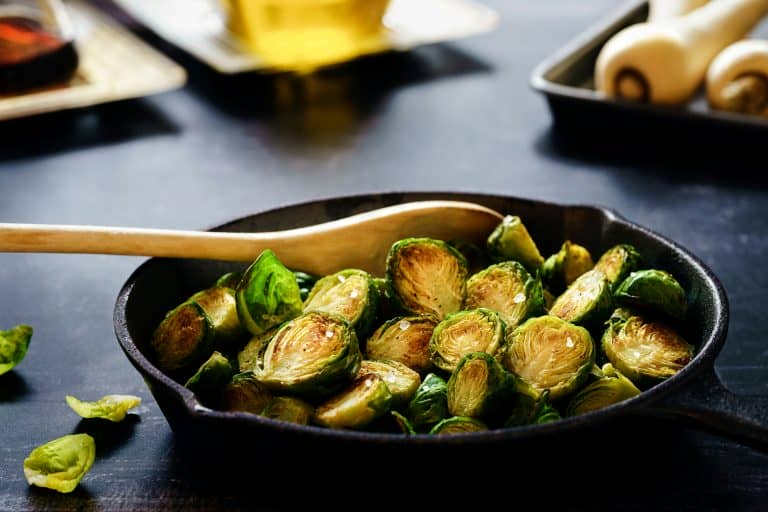
How to Cut Brussels Sprouts Like a Pro: A Beginner’s Guide
Learning how to cut Brussels sprouts is the crucial first step many home cooks overlook. The right technique transforms them…
How to Cut a Chicken Breast in Half: A Simple Guide
Thick chicken breasts can be a real challenge in the kitchen—taking forever to cook through while drying out on the…
How to Cut Ginger: A Step-by-Step Guide for Beginners
Facing that knobby piece of ginger in your kitchen can feel like confronting a small, stubborn puzzle. Its fibrous texture…
How to Cut Broccoli: Simple Techniques for Perfect Results
Fresh, perfectly cut broccoli transforms ordinary meals into nutritious culinary experiences. Yet many home cooks struggle with this seemingly simple…
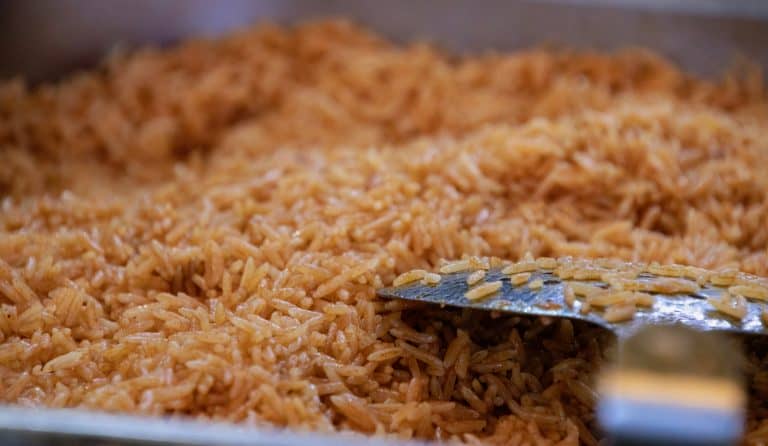
How To Keep Rice From Sticking To Pot: A Foolproof Guide
Rice that sticks to the bottom of your pot is a common kitchen problem ruining meals and creating difficult cleanup.…
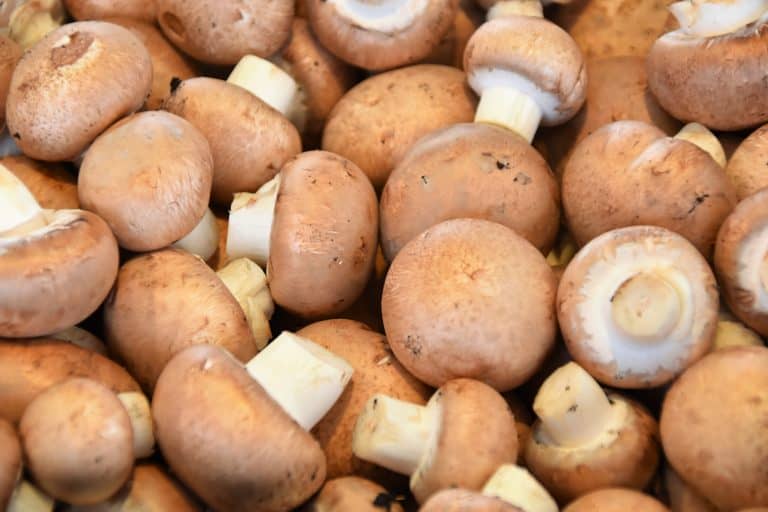
How to Cut Mushrooms Like a Pro
Are you tired of unevenly chopped mushrooms ruining your carefully crafted recipes? Many home cooks struggle with this common kitchen…
How to Choose The Best Rum for Rum Cake: A Baker’s Complete Guide
Standing in the liquor aisle staring at endless rum options can feel overwhelming when you’re trying to find the best…
The Best Salt for Steak: A Chef’s Guide to Perfect Seasoning
Getting the best salt for steak makes all the difference between an average dinner and a steakhouse-worthy experience. While most…
Are Tortilla chips vegan? You’ll be surprised!
The diet of veganism is currently rising in popularity more than ever. That being said, it can be difficult to…
Do cranberries have pits? ANSWERED
Cranberries are ridiculously popular, not only for their tasty flavor but also for their high nutrient and antioxidant content. Some…
Can you freeze crescent roll dough?
French and Austrian cuisine is an incredibly important part of the world and has contributed to many amazing dishes and…
Do bananas have seeds?
It may seem like a bit of a niche question, but it is actually quite commonly asked. Other fruits such…
Can you eat salmon skin? What You Need to Know!
Salmon is easily one of the most popular types of fish to eat globally. It can be used in so…
How do you know when turkey bacon is done?
Turkey bacon is a low-fat alternative to typical pork bacon. As you can imagine, it is made entirely from turkey…
Can You Eat Turkey Bacon Raw? Quick Answer + Cooking Tips
Turkey bacon is a healthier alternative to traditional pork bacon and is known for its health benefits such as having…
Is cinnamon Toast Crunch Vegan? The Answer Might Surprise You
Breakfast is often referred to as “the most important meal of the day” and whether you believe this or not,…
Does paprika have a taste? Three types of paprika
Every spice cabinet in the world has a few of the same spices in it that are considered essential no…
How to dehydrate bell peppers
Bell peppers are loved by many for their taste and versatility in dishes. However, one big problem with them is…
Chili Powder vs Paprika: Which is Better?
When cooking with spices and herbs, it can always be difficult to understand which ones to use. Each spice and…
What Does Chai Taste Like? 5 Most Popular Flavors
Chai tea is a drink that dates back thousands of years to ancient India. It technically uses black tea leaves,…
15 Best Milk Substitutes for Mac and Cheese
It is the holiday season, and one of the dishes that your guests look forward to the most is mac…
Mulberry vs Blackberry (3 Main Differences!)
Blackberries and mulberries are very similar in their use and their taste. Many chefs and bakers substitute the two seamlessly,…
What Do Mushrooms Taste Like? Do They Really Taste the Same?
If you do not have experience with mushrooms, you may be wary about trying them for the first time. These…
11+ Man Made Vegetables, Fruits and Nuts You Thought Were Natural
If you care about what you put in your body, you likely try to avoid foods stocked full of artificial…


